|
|
|
|
|||||||||
|
|
||||||||||
Using SRS SMART.net for the first time |
This information is NOT designed to replace the software installation manuals or the software user guide.
It is designed to enable you to understand better how the software works. In other words what the software is and is not designed to do. Let us run through the software setup procedure with an explanation of what is going on, not how to do it (as this is covered in the manuals)Before you start the following you must make sure that the PC is connected to the network, the controllers and protocol convertor are all correctly powered and connected. |
|||||||||
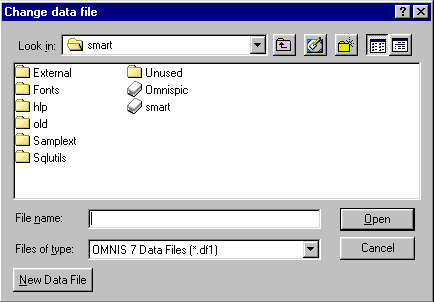
step 1 |
In simple terms there are 3 files to concentrate on Omnis (the application), Smartlib.lbr (the library file) and Smart.df1 the data file). These files (along with others) can all be found in the Smart folder (C:\Smart). When you launch Smartlib.lbr it loads Omnis and reads data from Smart.df1. Any changes to data are made to the file Smart.df1. The user can never make any changes to Omnis or Smartlib.lbr. It is therefore critical that the CORRECT data is being accessed at all times. The first time you launch SRS Smart.net software you may be presented with a dialogue box asking you to identify the data file. From the above it is clear that you should select smart data file.
|
|||||||||
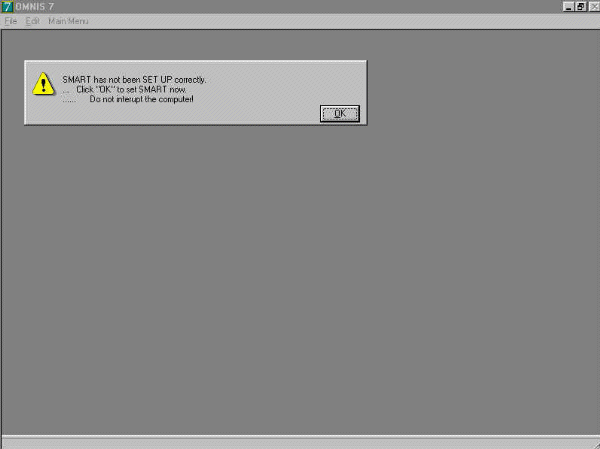
step 2 |
Since this is the first time you are using the data file... it has no data in it. A warning message will pop up. This will always happen. Click OK to continue
|
|||||||||
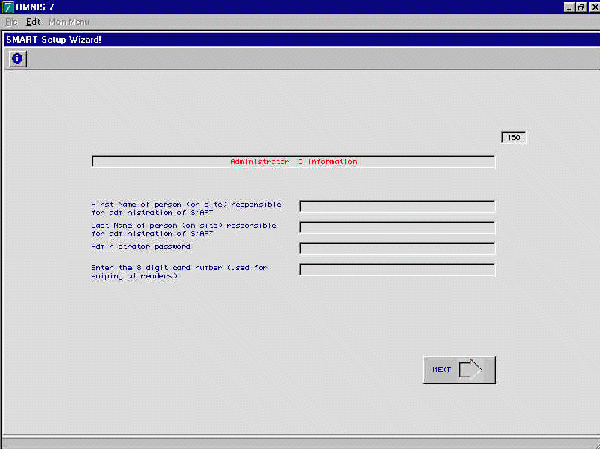
Step 3 |
This screen is important. Here you enter the administrators details. This is usually the person whom you (the installtion engineer) will liaise with on site. The Administrator will have the highest level of access.
|
|||||||||
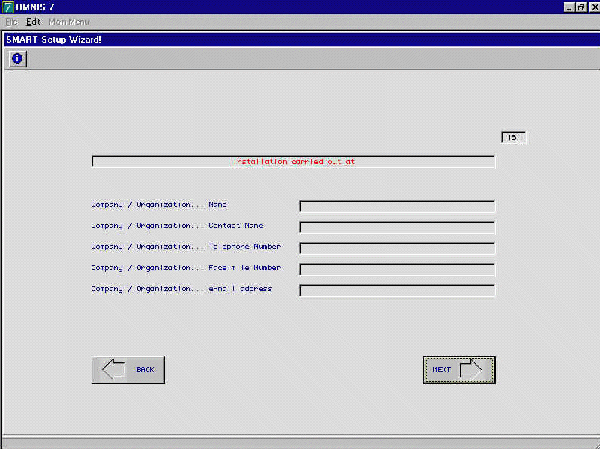
Step 4 |
The following 4 screens allow you to enter the customers name and contact details, then your (installation) company and contact details. This information is displayed every time the software is launched, so care should be taken to enter the correct information. |
|||||||||
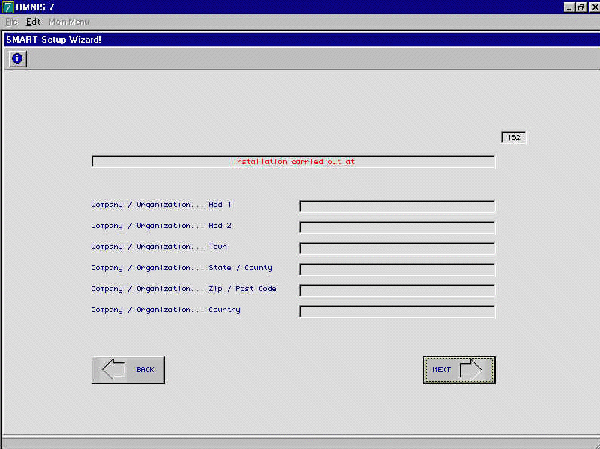
Step 5 |
On this screen you enter the Installation Address
|
|||||||||
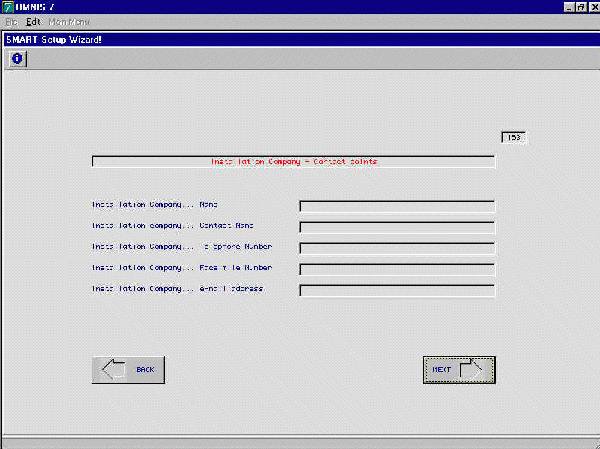
Step 6 |
On this screen you enter the Installation Company Contact Information
|
|||||||||
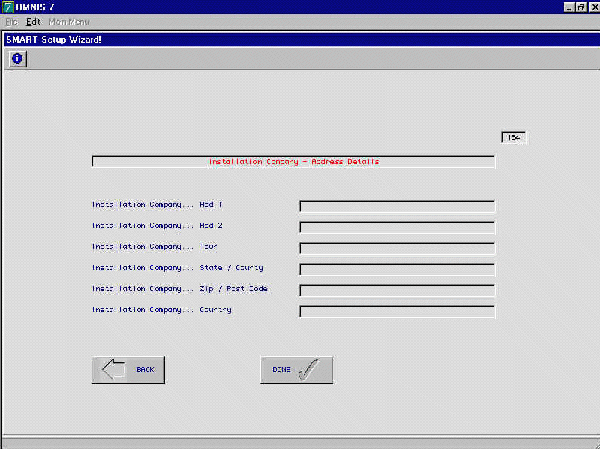
Step 7 |
On this screen you enter the Installation Company Address
|
|||||||||
|
© Door Entry Direct Ltd |
||||||||||