 |
 |
|
|
|||||||||
|
|
||||||||||
|
Now all the hardware is tested and connected we are ready to switch on the PC and install the application software.
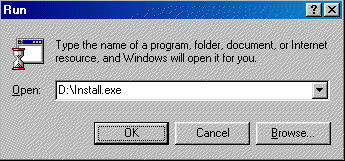
The CD contains an install program that will guide you through the installation process, wait a moment and it will appear as follows:
Great care should be taken to accurately follow these steps. There are 3 areas where mistakes are sometimes made.... |
||||||||||
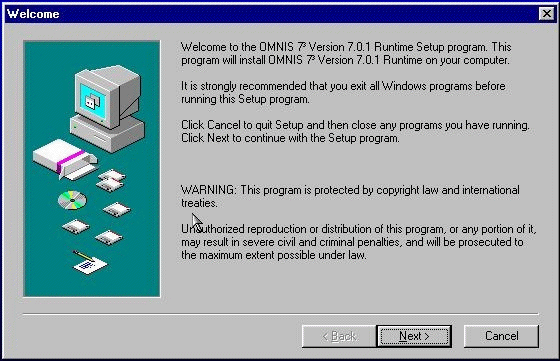
Step 1 |
Click Next to begin the software installation process
|
|||||||||
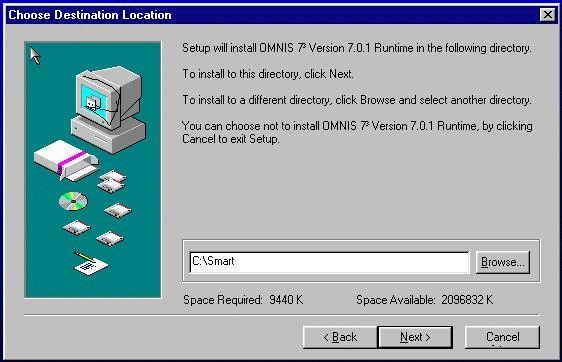
Step 2 |
Here you MUST type C:\Smart since this determines where the installed files will be placed.
|
|||||||||
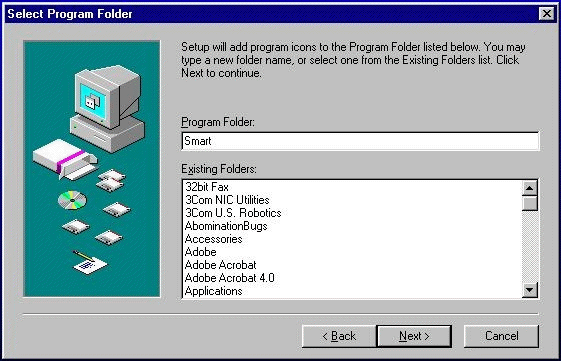
Step 3 |
Here you MUST type the program folder name Smart.
|
|||||||||
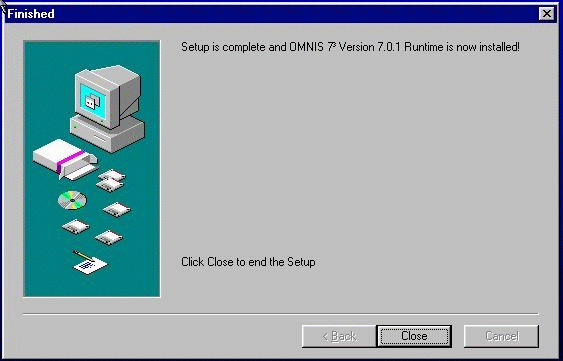
Step 4 |
Simply click close
|
|||||||||
Step 5 |
Here you close the window (click the close X - top right)
|
|||||||||
Step 6 |
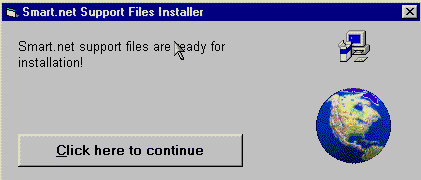
We now need to install the Smart library and relevant files.
|
|||||||||
Step 7 |
Follow the steps on screen
|
|||||||||
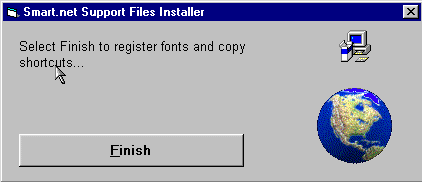
Step 8 |
Click the Finish button to complete the installation
|
|||||||||
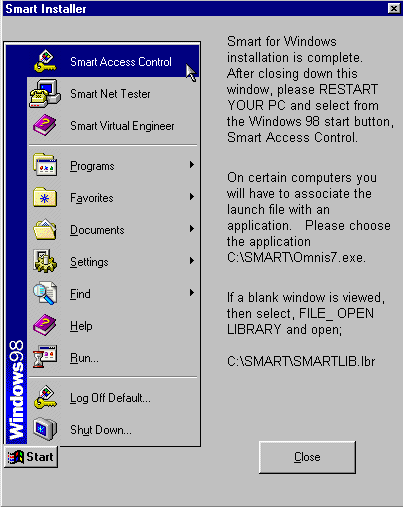
Step 9 |
Read the information in this window then close it and Restart your computer.
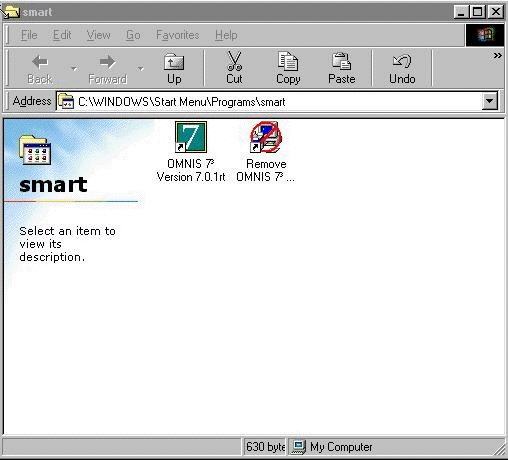
The software has now been installed on the PC. Installed along with the application software itself is a network test utility which is used to prove that all smart door nodes are responding to the network correctly. This would only be used if you are experiencing difficulties getting the software to communicate with the door control units. |
|||||||||
|
© Door Entry Direct Ltd |
||||||||||
